No Scraps - Starstruck
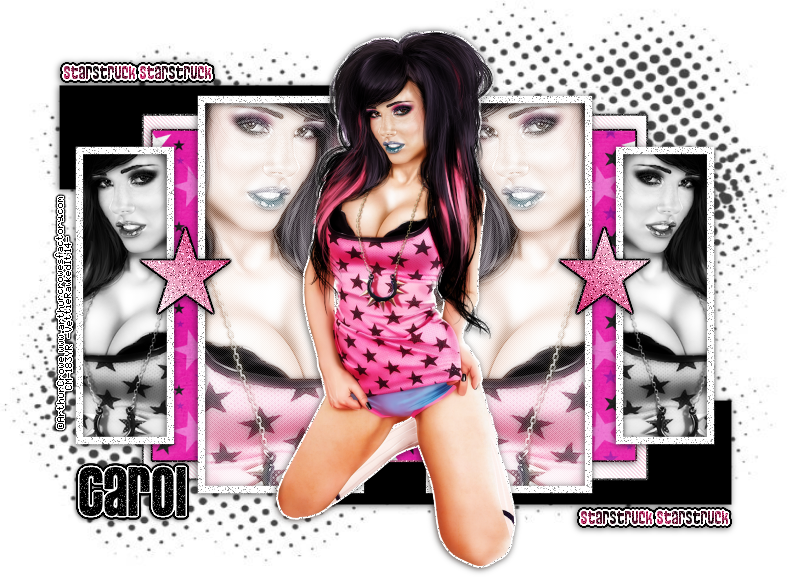
For this tutorial i am using the amazing artwork by @Arthur Crowe (Exclusive tube)
~Supplies Needed~
Tube of choice
Tag template 520 made by Minxy which can be downloaded from here
Halftone 8 mask made Dee by which can be downloaded from here
Paper of choice, i'm using one from Kristin's scrapkits
~Filters Used~
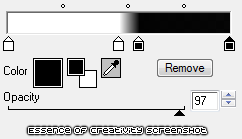
Eye Candy 4 - Gradient Glow
Penta.com - Jeans
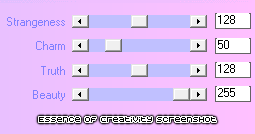
Xero - Radience
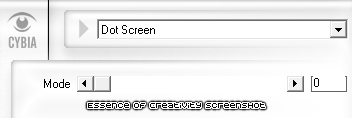
Cybia - Screenworks
~Font used~
Pussycat Snickers
Let's Get Started
Open the template in psp - image - canvas size - 850 x 750 - add a new raster layer & move it below all the layers - fill with white - delete the credits layer
On the right black circle select with your magic wand - copy & paste your tube as a new layer - position - selections - invert - hit delete - selections - none - duplicate - image - mirror - merge down - duplicate again - adjust - blur - gaussian blur - 3.00 - change the blend mode to screen - duplicate again - effects - plugins - Cybia - Screenworks
Reduce the opacity to around 40% - on the original tube layer change the blend mode to Luminance (L)
Merge together the large frame layers - adjust - add/remove noise

Add a drop shadow
On the right small rectangle layer select with your magic wand - copy & paste your tube as a new layer - selections - invert - hit delete - duplicate - image - mirror - merge together - adjust - hue & saturation - colorize - set both sliders to 0 - adjust - duplicate again - adjust - blur - gaussian blur - 3.00 - change the blend mode to soft light - effects - plugins - Xero - Radience
On the white frame layers apply the same noise settings as earlier - add a drop shadow
I deleted the circle layer because my tube covered it up - on the blue rectangle layer - selections - all - float - defloat - copy & paste your paper as a new layer - selections - invert - hit delete - selections - invert - selections modify - expand by 2 - fill the original
layer with a colour from your tube - selections - none - apply the same noise settings as earlier
On the pink rectangle layer - selections - all - float - defloat - add a new raster layer - fill with a colour from your tube - effects - plugins - penta.com - jeans

Selections - modify - expand by 2 - fill the original layer with a colour from your tube - selections - none - apply the same noise settings - add a drop shadow
Add a drop shadow to both the remaining black rectangles
Add a new raster layer & move it below all the layers - fill with a colour from your tube - layers - new mask from image - apply Dee's mask - merge group
Copy & paste your tube as a new layer - selections - modify - expand by 2 - add a new raster layer & move it below your tube layer - fill with white - selections - none - apply the same noise settings - add a drop shadow
With your font add some words of choice - position - apply the same noise settings as earlier - effects - plugins - eye candy 4 - gradient glow - glow width 3.00
Add a drop shadow
With your font again add you name - position - apply the same noise settings & the same gradient glow settings - add a drop shadow
Don't forget to add the artists correct copyrite - crop around your tag - delete the white background layer and you are done!
