PTU Tutorial - Wild Black Rose
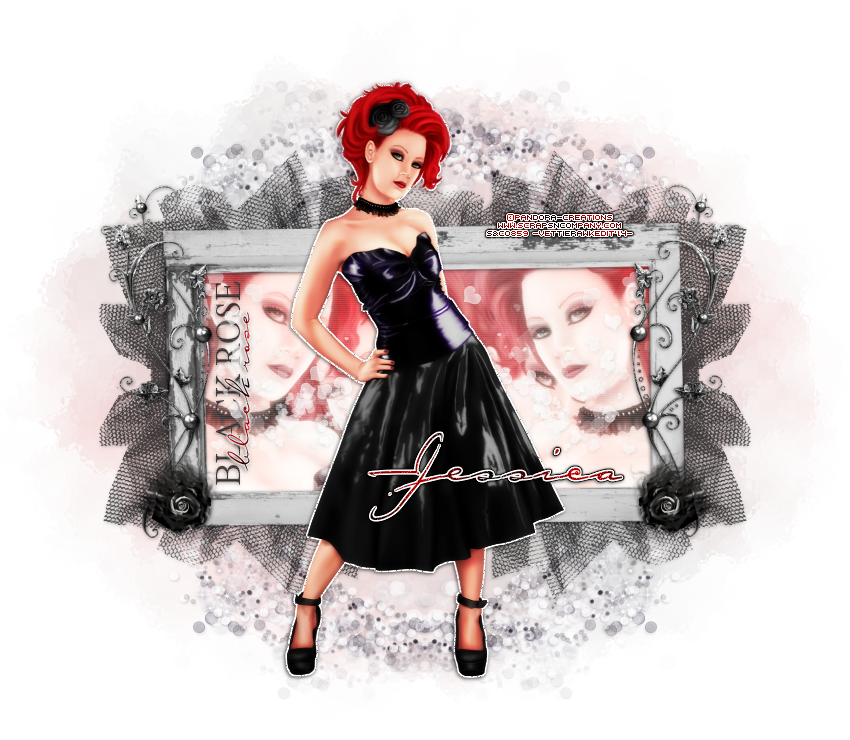
For this tutorial i am using the amazing artwork by @Pandora Creations
~Supplies Needed~
Tube of choice
Scrapkit used was Wild Black Rose made by Bibi which can be purchased from here
If you do not have this scrapkit please feel free to use another one with similar elements
BigMask made by Vix which can be downloaded from here
Black Rose Wordart made by me which can be downloaded from here
~Filters Used~
Eye Candy 4 - Gradient Glow
VanderLee - Interlace
Texture of choice
~Font used~
Carpenter Script
Let's Get Started
Open a 850 x 750 canvas - fill with white
Copy & paste the frame as a new layer - with your magic wand select the middle - selections - modify - expand by 4 - copy & paste your texture as a new layer - move below the frame layer - selections - invert - hit delete -
selections - none - duplicate the texture - image - mirror - reduce the opacity of the top one to around 60% - merge together - adjust - hue & saturation - colorize - adjust sliders to match your tube
Back on the frame select the middle with your magic wand - selections - modify - expand by 4 - copy & paste your tube as a new layer - position to the right - selections - invert - hit delete - selections - none - duplicate your tube - image - mirror - duplicate - position - duplicate - image - mirror - it should look like this
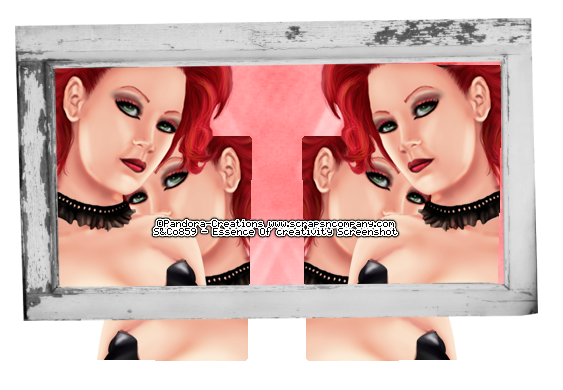
With your selection tool set to rectangle - draw around the bottom of your overhanging tubes - selections - none - you will also notice that you can see the lines of the top of your tubes, your tube should cover those, if not, just play around with the tubes until you can't see them :)
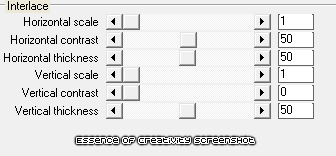
Merge all tube layers together - duplicate - change the blend mode to screen - effects - plugins - vanderlee - interlace
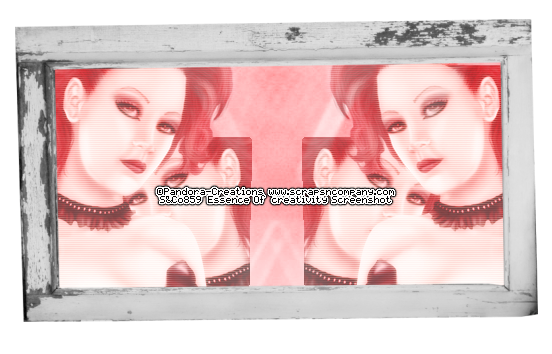
Change the blend mode of the original tube layer to Luminance (L) - duplicate your texture layer & move it so that it's above your duplicate tube layer - reduce the opacity to 50%
Copy & paste the black mesh as a new layer - image - free rotate right by 90% - resize if needed - position to the right of your frame - move below all layers - add a drop shadow - duplicate - image - mirror
Copy & paste element 64 as a new layer - position to the right - move below the frame layer - on the frame layer select the middle with your magic wand - selections - invert - hit delete on the heart scatter layer (64) - selections - none - duplicate - image - mirror
Add a drop shadow to the frame
Copy & paste element 62 (bubbles) as a new layer - posiiton to the bottom right corner - resize to liking - move below all layers - duplicate - image - mirror - merge down - duplicate - image - flip
Copy & paste element 20 as a new layer - position to the left - resize if needed - add a drop shadow - duplicate - image mirror
Copy & paste element 24 as a new layer - resize to liking - position to the bottom right of the frame - add a drop shadow - duplicate - image - mirror
Copy & paste your tube as a new layer - position - duplicate - adjust - blur - gaussian blur - 3.00 - change the blend mode to soft light - on the original selections - all - float - defloat - selections modify - expand by 2 - add a new raster layer - move it below the tube layer - fill with white - selections none - adjust - add/remove noise

Add a drop shadow
Copy & paste my wordart as a new layer - image - free rotate left by 90% - resize to liking
With your font add your name - position - effects - eye candy 4 - gradient glow - glow width 3.00
Add a drop shadow
Add a new raster layer & move it below all layers - fill with a colour from your tube - layers - new mask from image - apply Vix mask - merge group - reduce opacity to liking
Don't forget to add the artists correct copyrite - crop around your tag - delete the white background layer and you are done!
