No Scraps Tutorial - Trouble Maker
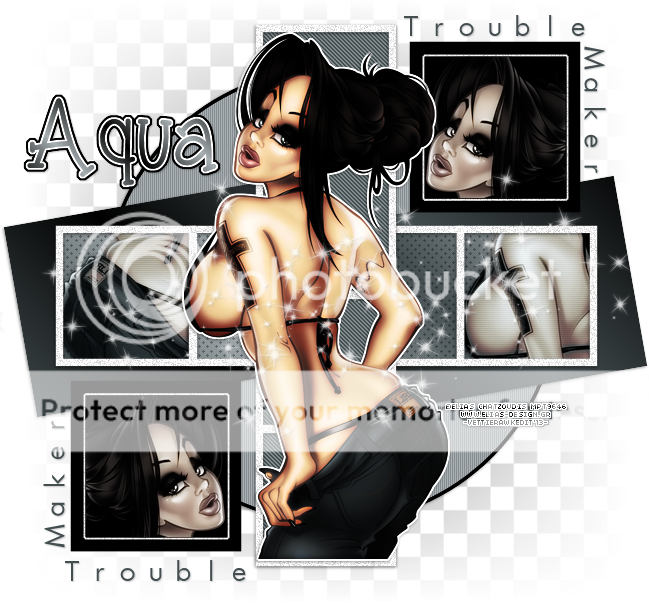
For this tutorial i am using the amazing artwork by @Elias Chatzoudis
~Supplies Needed~
Tube of choice
Template413 which was made by Missy & can be downloaded from here
Becky%5FMask042 which can be downloaded from here. {If you know who this mask belongs to can you please let me know then i can give them credit, thank you}
~Filters Used~
Dsb Flux - Bright Noise
Eye Candy 4 - Gradient Glow
Penta.com - Jeans
Mura's Meisters - Tone
Xero - Radience
~Font used~
Futurist Fixed Width
Another font of choice {I can't remember the name of the font i used, sorry :( }
Let's Get Started
Open Missy's template in PSP - image - canvas size set to 800 x 700 - delete the credits layer
On the frame back 2 layer - selections - all - float - defloat - add a new raster layer - set your colour palettes to 2 colours from your tube - change the gradient - foreground/background - angle 45 - repeats 3 - fill your new raster layer - effects - plugins - penta.com - jeans

Selections - none
On the frame 1 layer - effects - plugins - dsb flux - bright noise - set to 50% - add a drop shadow
On the frame back layer - selections - all - float - defloat - add a new raster layer - set your colour palettes to 2 colours from your tube - change the gradient - foreground/background - angle 45 - repeats 3 - fill your new raster layer - effects - plugins - muras meister - tone

Selections - none - reduce the opacity to around 60% - keep selected
Copy & paste your tube as a new layer - position in the left frame - selections - invert - hit delete - selections - invert - copy & paste your tube as a new layer again - position in the right frame - selections - invert - hit delete - selections - none - merge together - effects - plugins - xero - radience

Effects - texture effects - blinds

Add a drop shadow
On the frame layer - effects - plugins - dsb flux - bright noise - set to 50% - add a drop shadow
On the square 3 layer - selections - all - float - defloat - add a new raster layer - fill with black - copy & paste your tube as a new layer - position - selections - invert - hit delete - selections none - duplicate your tube - on the original change the blend mode to luminance (L) - on the duplicate go to adjust - blur 0 gaussian blur - set to 3.00 - change the blend mode to soft light - with your foreground set to white & background set to nil - preset shapes - rectangle - line width 2.00 - if you close the black square layer you filled, you can see the edge of the pink frame - with your preset shape, draw around the square - convert to raster - apply the same dsb flux plugins as earlier but change the amount to 60% - unhide the black square layer - on the square 2 layer - selections - all - float - defloat - add a new raster layer - fill with black - selections - none - add a drop shadow & delete all the original layers - repeat these steps for the bottom left squares
Merge together the rectangle layers - selections - all - float - defloat - add a new raster layer - fill with a gradient using 2 different colours from your tube - selections - none - add a drop shadow
On the circle layer - selections - all - float - defloat - add a new raster layer - fill with a gradient using 2 different colours from your tube - selections - modify - expand by 4 - add another new layer & move it below the gradient one - fill with a dark colour from your tube - selections - none - add a drop shadow - on the gradient layer apply the same blinds settings as before but uncheck the top box - delete the original layer
Add a new raster layer and move it below all the other layers - fill with a colour from you tube - layers - new mask from image - apply your mask - merge group - resize if needed
Copy & paste your tube as a new layer - position - effects - plugins - xero - radience - same settings as earlier - selections - all - float - defloat - selections modify - expand by 3 - add a new raster layer & move it below the tube layer - fill with white - effects - dsb flux - bright noise - same settings as earlier - add a drop shadow
With your fonts add some text & add your name - add drop shadows and any other effects you wish
I also added some sparkles to my finished tag
Don't forget to add the artists correct copyrite - save tag and you are done!
